- Step 1: Create a repository
- Step 2: Write your code
- Step 3: Save changes and push to GitLab
- Step 4: Have the code reviewed
- Step 5: Merge the merge request
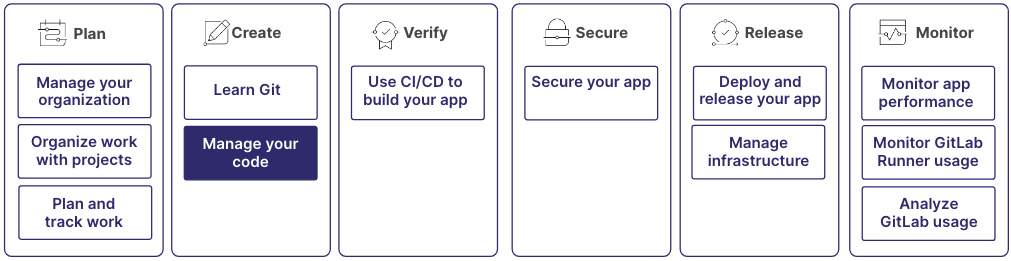
Get started managing code
GitLab provides tools for the full software development lifecycle, from code creation to delivery.
Learn more about creating and managing code in GitLab. The process includes authoring your code, having it reviewed, committing it with version control, and updating it over time.
This process is part of a larger workflow:
Step 1: Create a repository
A project is a centralized location where you collaborate with others, track issues, manage merge requests, and automate CI/CD pipelines, among many other things.
Each project contains a repository, where you can store your code, documentation, and other files related to your software development work. Changes made to files in the repository are tracked, so you can view a history.
While a repository focuses on version control for source code, a project provides a comprehensive environment for the entire development lifecycle.
For details, see:
Step 2: Write your code
You have many options for how and where you’ll write your code.
You can use the GitLab UI and develop right in your browser. You have two options:
- The plain text editor, called the Web Editor, which you can use to edit a single file.
- A more full-featured editor, called the Web IDE, which you can use to edit multiple files.
If you’d prefer to work locally, you can use Git to clone the repository to your computer and develop in the IDE of your choice. Then you can use one of the GitLab editor extensions to assist in interacting with GitLab.
And finally, if you don’t want to use either of the first two options, you can launch a remote development environment and work from the cloud.
You can further split your development environment by creating separate workspaces. Workspaces are separate development environments you use to ensure different projects don’t interfere with one another.
For details, see:
- Create a file in the repository from the UI
- Open a file in the Web IDE
- Create a remote development environment
- Available editor extensions
- Use Code Suggestions to write code more quickly
Step 3: Save changes and push to GitLab
When your changes are ready, you should commit them to GitLab, where you can share them with others on your team.
To commit your changes, you’ll copy them:
- From your local computer, in your own branch
- To GitLab, on a remote computer, to the default branch, usually called
mainormaster.
To copy files between branches, you create a merge request. There are many different ways to create a merge request. It largely depends on where you authored the code and the tools you’ll use to create it. But the idea is to create a merge request that takes the contents of your source branch and proposes combining it into the target branch.
For details, see:
- Use Git to create a merge request
- Use the UI to create a merge request when you add, edit, or upload a file
Step 4: Have the code reviewed
After you create a merge request that proposes changes to the codebase, you can have your proposal reviewed. Code reviews help maintain code quality and consistency. It’s also an opportunity for knowledge sharing among team members.
The merge request shows the difference between the proposed changes and the branch you want to merge into.
Reviewers can see the changes and leave comments on specific lines of code. Reviewers can also suggest changes directly in the diff.
Reviewers can approve the changes or request additional changes before merging. GitLab tracks the review status and prevents merging until necessary approvals are obtained.
For details, see:
Step 5: Merge the merge request
Before your changes can be merged, the merge request usually needs to be approved by other people, and to have a passing CI/CD pipeline. The requirements are custom to your organization, but usually they include ensuring the code changes adhere to your organization’s guidelines and that the commit message is clear and links to related issues.
Merge conflicts can occur if someone else edits a file after you created your branch, but before you merged it into the target branch. You must resolve any conflicts before you can merge.
For details, see: