- Before you begin
- The goal workflow
- Create a group
- Create a project
- Create labels
- Create team issue boards
- Create issues for features
- Learn more about project management in GitLab
Tutorial: Set up issue boards for team hand-off
This tutorial shows you how to set up issue boards and scoped labels for two teams that work on issues in sequence.
In this example, you’ll create two issue boards for the UX and Frontend teams. Using the following steps, you can create issue boards and workflows for more sub-teams, like Backend or Quality Assurance. To learn how we use workflow labels at GitLab, see Product Development Flow.
To set up issue boards for multiple teams:
Before you begin
- If you’re using an existing group for this tutorial, make sure you have at least the Reporter role for the group.
- If you’re using an existing project for this tutorial, make sure you have at least the Reporter role for the project.
The goal workflow
After you set up everything, the two teams will be able to hand off issues from one board to another, for example, like this:
- The project lead adds the
Workflow::Ready for designandFrontendlabels to a feature issue called Redesign user profile page. - A product designer on the UX team:
-
Checks the
Workflow::Ready for designlist on the UX workflow board and decides to work on the profile page redesign.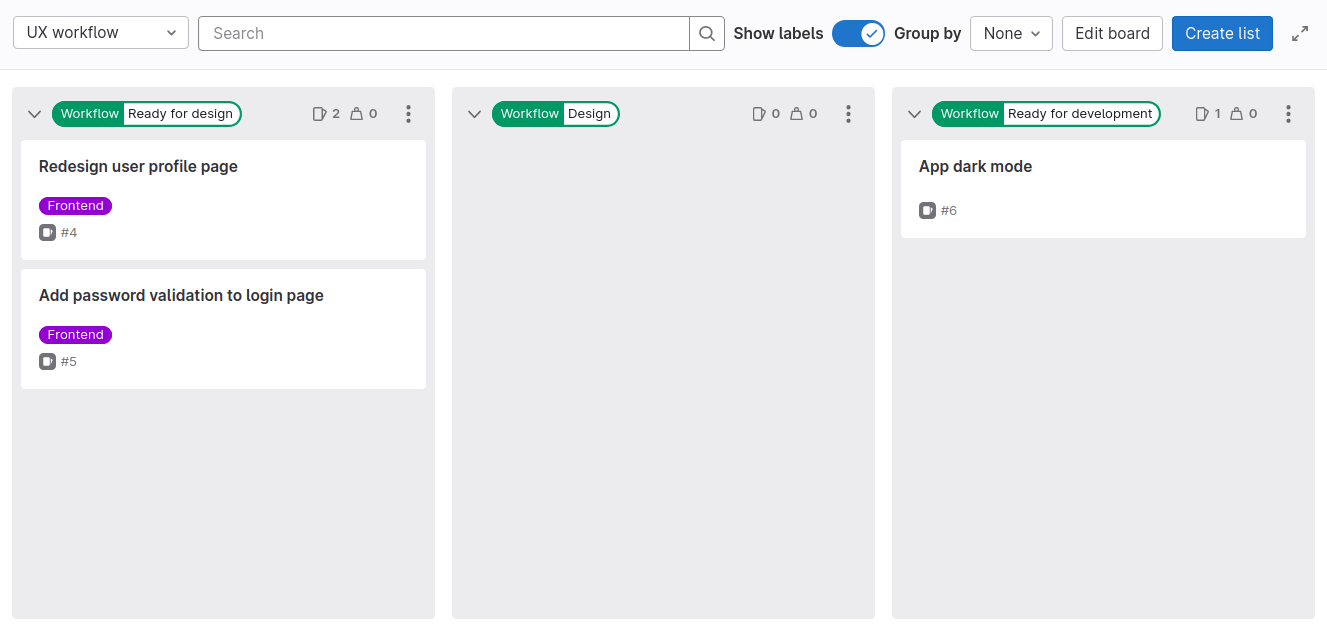
- Assigns themselves to the Redesign user profile page issue.
- Drags the issue card to the
Workflow::Designlist. The previous workflow label is automatically removed. - Creates the ✨new designs✨.
- Adds the designs to the issue.
- Drags the issue card to the
Workflow::Ready for developmentlist, which adds this label and removes any otherWorkflow::label. - Unassigns themselves from the issue.
-
- A developer on the Frontend team:
-
Checks the
Workflow::Ready for developmentlist on the Frontend workflow board and chooses an issue to work on.
- Assigns themselves to the Redesign user profile page issue.
- Drags the issue card to the
Workflow::In developmentlist. The previous workflow label is automatically removed. - Adds the frontend code in a merge request.
- Adds the
Workflow::Completelabel.
-
Create a group
To prepare for when your project grows, start by creating a group. You use groups to manage one or more related projects at the same time. You add your users as members in the group, and assign them a role.
To create a group:
- On the left sidebar, at the top, select Create new () and New group.
- Select Create group.
- Complete the fields. Name your group
Paperclip Software Factory. - Select Create group.
You’ve created an empty group. Next, you’ll create a project that will store your issues and code.
Create a project
The main code development work happens in projects and their repositories. A project contains your code and pipelines, but also the issues that are used for planning your upcoming code changes.
To create a blank project:
- In your group, on the left sidebar, at the top, select Create new () and then select In this group > New project/repository.
- Select Create blank project.
- Enter the project details:
- In the Project name field, name your project
Paperclip Assistant.
- In the Project name field, name your project
- Select Create project.
Create labels
You need a team label and a set of workflow labels to show where in the development cycle an issue is.
You could create these labels in your Paperclip Assistant project, but it’s better to create them
in the Paperclip Software Factory group. This way, these labels will also be available in all the other
projects you create later.
To create each label:
- On the left sidebar, select Search or go to and find your Paperclip Software Factory group.
- Select Manage > Labels.
- Select New label.
- In the Title field, enter the name of the label. Start with
Frontend. - Optional. Select a color by selecting from the available colors, or enter a hex color value for a specific color in the Background color field.
- Select Create label.
Repeat these steps to create all the labels you’ll need:
FrontendWorkflow::Ready for designWorkflow::DesignWorkflow::Ready for developmentWorkflow::In developmentWorkflow::Complete
Create team issue boards
Like with labels, you could create your issue boards in the Paperclip Assistant project, but it can be better to have them in the Paperclip Software Factory group. This way, you’ll be able to manage issues from all the projects that you might create later in this group.
To create a new group issue board:
- On the left sidebar, select Search or go to and find your Paperclip Software Factory group.
- Select Plan > Issue boards.
- Create the UX workflow and Frontend workflow boards.
To create the UX workflow issue board:
- In the upper-left corner of the issue board page, select the dropdown list with the current board name.
- Select Create new board.
- In the Title field, enter
UX workflow. - Clear the Show the Open list and Show the Closed list checkboxes.
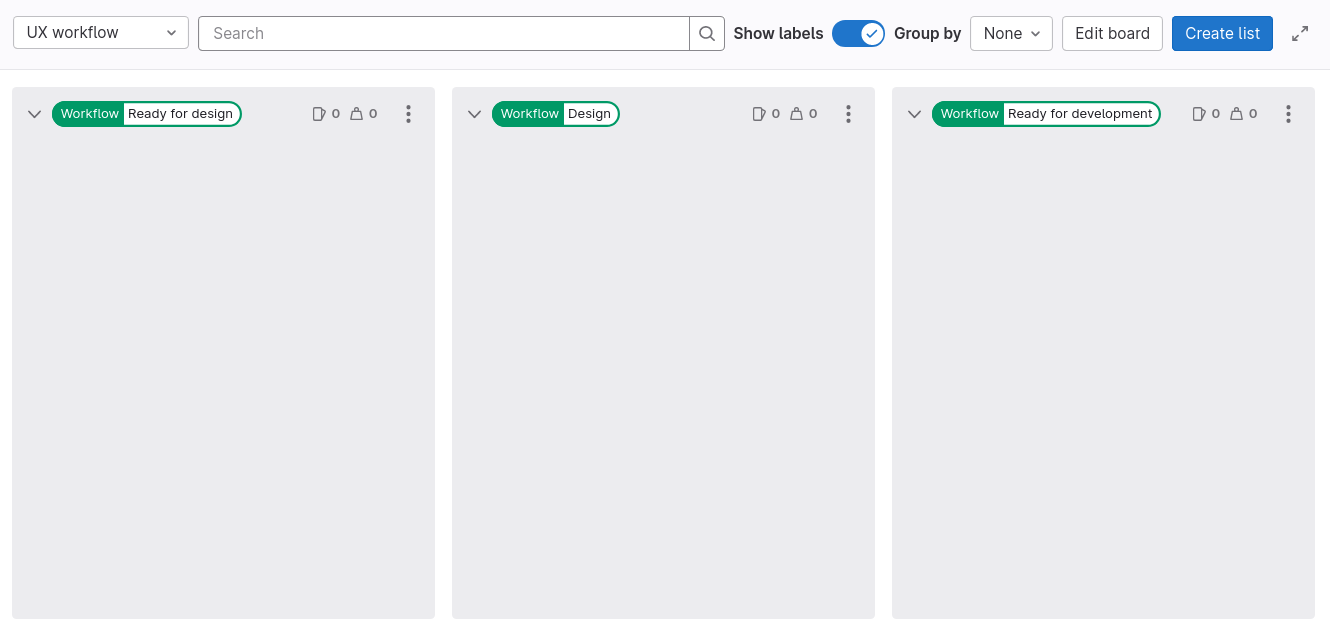
- Select Create board. You should see an empty board.
- Create a list for the
Workflow::Ready for designlabel:- In the upper-right corner of the issue board page, select Create list.
- In the column that appears, from the Value dropdown list, select the
Workflow::Ready for designlabel. - Select Add to board.
- Repeat the previous step for labels
Workflow::DesignandWorkflow::Ready for development.
To create the Frontend workflow board:
- In the upper-left corner of the issue board page, select the dropdown list with the current board name.
- Select Create new board.
- In the Title field, enter
Frontend workflow. - Clear the Show the Open list and Show the Closed list checkboxes.
- Expand Scope.
- Next to Labels, select Edit and select the
Frontendlabel. - Select Create board.
- Create a list for the
Workflow::Ready for developmentlabel:- In the upper-right corner of the issue board page, select Create list.
- In the column that appeared, from the Value dropdown list, select the
Workflow::Ready for developmentlabel. - Select Add to board.
- Repeat the previous step for labels
Workflow::In developmentandWorkflow::Complete.
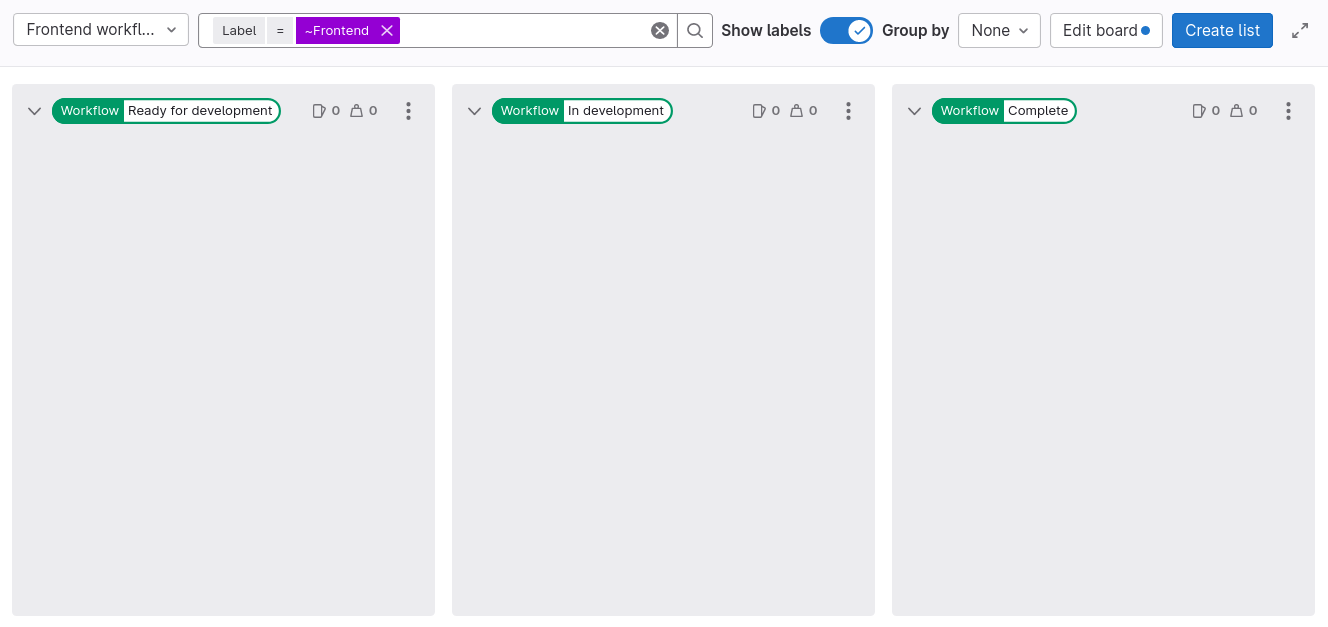
For now, lists in both your boards should be empty. Next, you’ll populate them with some issues.
Create issues for features
To track upcoming features, enhancements, and bugs, you must create some issues. Issues belong in projects, but you can also create them directly from your issue board.
To create an issue from your board:
- In the upper-left corner of the issue board page, select the dropdown list with the current board name.
- Select UX workflow.
- On the
Workflow::Ready for developmentlist, select Create new issue (). - Complete the fields:
- Under Title, enter
Redesign user profile page. - Under Projects, select Paperclip Software Factory / Paperclip Assistant.
- Under Title, enter
- Select Create issue. Because you created the new issue in the label list, it gets created with this label.
- Add the
Frontendlabel, because only issues with this label appear on the Frontend team’s board:- Select the issue card (not its title), and a sidebar appears on the right.
- In the Labels section of the sidebar, select Edit.
- From the Assign labels dropdown list, select the
Workflow::Ready for designandFrontendlabels. The selected labels are marked with a checkmark. - To apply your changes to labels, select X next to Assign labels or select any area outside the label section.
Repeat these steps to create a few more issues with the same labels.
You should now see at least one issue there, ready for your product designers to start working on!
Congratulations! Now your teams can start collaborating on amazing software. As a next step, you can try out the goal workflow for yourself using these boards, simulating the two teams interacting.
Learn more about project management in GitLab
Find other tutorials about project management on the tutorials page.